

We’ve all been there. You want to wow your guests with a delicious dessert but don’t want to lose your sanity in the kitchen.
Fear not! These ten easy desserts are not only quick to whip up but also sure to leave your friends and family raving about your baking skills.
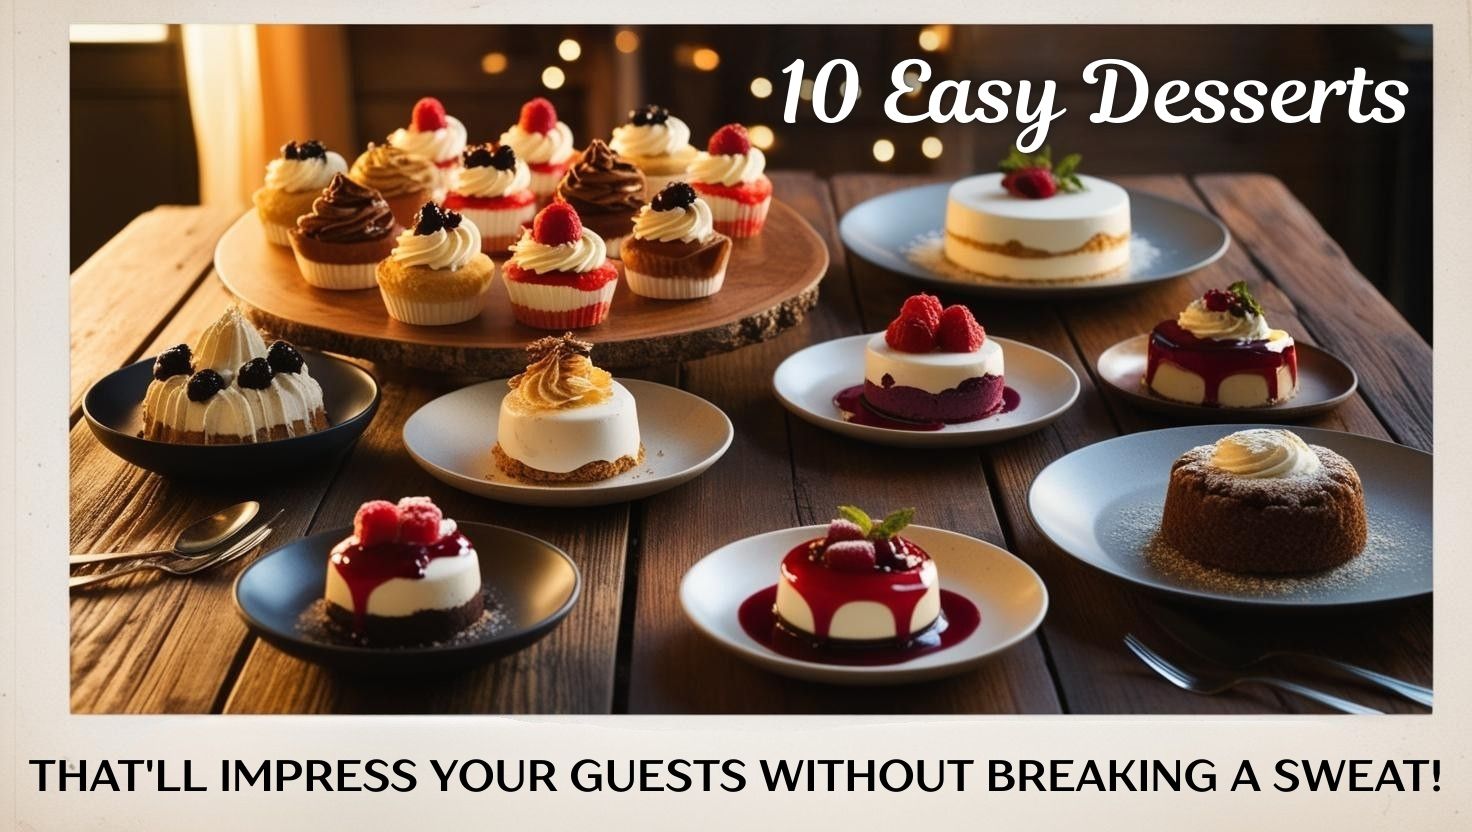
From simple no-bake treats to elegant chocolate delights, these recipes require minimal effort but yield maximum flavor. Get ready to impress without the stress!
1. No-Bake Cheesecake Bites

These No-Bake Cheesecake Bites are the perfect treat for any occasion. They’re creamy, sweet, and super easy to make, plus they’re bite-sized, which means you can pop one (or five) without the guilt.
With a crust made from crushed graham crackers mixed with melted butter, and a filling of cream cheese, sugar, and lemon juice, these little delights come together in no time. For the crust, you can use graham cracker crumbs like Lieber’s to save time and ensure a perfect texture. You can top them with fresh berries or a drizzle of chocolate for an extra touch of sweetness.
### Recipe Details
Ingredients List:
– 1 cup graham cracker crumbs
– 1/4 cup melted butter
– 1 (8 oz) package cream cheese, softened
– 1/2 cup powdered sugar
– 1 tsp vanilla extract
– Zest of 1 lemon
– Fresh berries for topping
Step-by-Step Instructions:
1. In a bowl, combine graham cracker crumbs and melted butter until well mixed.
2. Press the mixture into the bottom of a mini muffin tin to form the crust.
3. In another bowl, beat the cream cheese, powdered sugar, vanilla, and lemon zest until smooth, using an electric hand mixer for ease.
4. Spoon the cream cheese mixture into each crust.
5. Refrigerate for at least 2 hours.
6. Top with fresh berries before serving.
– Ensure the cream cheese is at room temperature for smooth mixing.
– Experiment with different toppings like chocolate chips or caramel sauce.
Nutrition Information:
Calories: 120
Protein: 2g
Carbs: 10g
Fat: 8g
Frequently Asked Questions:
– Can I make these ahead of time? Yes, they keep well in the fridge for up to 3 days.
Product Recommendations:
• Graham cracker crumbs
• mini muffin tin
• electric hand mixer
2. Chocolate-Dipped Strawberries

2. Chocolate-Dipped Strawberries
Nothing says gourmet like chocolate-dipped strawberries! They’re simple, elegant, and always a hit. With just a few ingredients and minimal prep time, you can create a treat that feels indulgent yet is incredibly easy to make. Perfect for gatherings, these strawberries will have your guests raving about your dessert skills.
Start with ripe strawberries and high-quality chocolate for the best flavor. A touch of white chocolate drizzle or a sprinkle of crushed nuts can elevate them even further.
Recipe Details:
Ingredients List:
– 16 fresh strawberries
– 8 oz dark chocolate
– Optional: white chocolate for drizzling, nuts for toppings
Step-by-Step Instructions:
1. Rinse and dry the strawberries thoroughly.
2. In a microwave-safe mixing bowl, melt the dark chocolate in 30-second intervals, stirring in between until smooth.
3. Dip each strawberry halfway into the melted chocolate, letting the excess drip off.
4. Place on parchment paper and drizzle with melted white chocolate if desired.
5. Refrigerate until the chocolate hardens, about 30 minutes.
– Use high-quality chocolate for the best flavor.
– Experiment with different types of chocolate, like milk or white chocolate.
Storage: Keep them in the fridge in an airtight container for up to 2 days.
Product Recommendations:
• Chocolate melting pot
• Silicone baking mat
• Decorative squeeze bottles for drizzling chocolate
3. Mini Fruit Tarts

Mini Fruit Tarts are not just pretty to look at; they are delicious and refreshing! With a crisp tart shell, creamy filling, and an explosion of colorful fruits, these tarts are perfect for any gathering.
You can easily make the tart shells from scratch or opt for the convenience of store-bought options like mini tart shells, which come in a pack of 48. This saves you time in the kitchen without sacrificing quality. Fill them with a luscious vanilla pastry cream, which you can prepare quickly using pastry cream mix. Just add water, and you’ve got a delicious filling ready in no time!
Top them with an assortment of seasonal fruits, and for added flavor, consider using assorted fresh fruits like pineapple, berries, kiwi, and sliced peaches. Each bite is a sweet burst of flavor that your guests will love!
Recipe Details
Ingredients List:
– 1 package mini tart shells (or homemade if you prefer)
– 1 cup pastry cream or whipped cream
– 1 cup assorted fruits (berries, kiwi, peaches)
– Optional: mint leaves for garnish
Step-by-Step Instructions:
1. Preheat your oven if baking tart shells from scratch.
2. Bake the mini tart shells according to package directions or your recipe until golden.
3. Allow the shells to cool completely.
4. Fill each tart shell with pastry cream or whipped cream.
5. Top with the assorted fruits elegantly.
6. Garnish with fresh mint leaves if desired.
– Use a variety of fruits for a colorful presentation.
– For added sweetness, brush the fruits with a light glaze made from apricot jam.
Nutrition Information:
– Calories: 150
– Protein: 3g
– Carbs: 20g
– Fat: 7g
Frequently Asked Questions:
– Can I use frozen fruit? Yes, just make sure to thaw and drain excess moisture before using.
Product Recommendations:
• Mini tart shell molds
• pastry cream mix
• assorted fresh fruit assortment
4. Brownie Sundae Cups

4. Brownie Sundae Cups
Brownie Sundae Cups are the ultimate dessert for chocoholics! Imagine a fudgy brownie base topped with a scoop of ice cream, drizzled with chocolate sauce, and finished with whipped cream and a cherry on top. It’s like having your favorite sundae in a cup!
These delightful treats are not only quick to prepare but also a guaranteed crowd-pleaser at any gathering. You can easily customize each cup with different ice cream flavors and toppings, making them perfect for impressing your guests without breaking a sweat.
Ingredients List:
– 1 box brownie mix (or homemade brownies)
– 1 pint of your favorite ice cream
– Hershey’s Chocolate Syrup for drizzling
– Whipped cream for topping
– Maraschino cherries for garnish
Step-by-Step Instructions:
1. Prepare brownie mix according to package directions and bake in a greased 8×8 inch pan.
2. Once cooled, cut brownies into squares and place one square in the bottom of each serving cup.
3. Top each brownie with a scoop of ice cream. Use an ice cream scoop for perfectly shaped servings.
4. Drizzle chocolate syrup generously over the ice cream.
5. Add whipped cream and finish with a cherry on top.
6. Serve immediately and watch your guests be amazed!
– Allow the brownies to cool completely before cutting for clean edges.
– You can add sprinkles or chopped nuts for extra texture.
Frequently Asked Questions:
– Can I make these ahead of time? It’s best to assemble them just before serving to keep the brownies from getting soggy.
Product Recommendations:
• Silicone Muffin Pan
• Ice Cream Scoop
• Chocolate Sauce Dispenser
5. Lemon Bars

### 5. Lemon Bars
Lemon Bars bring a refreshing zing to your dessert table! These bars have a buttery crust and a tangy lemon filling, making them a delightful treat to finish a meal. The balance of sweetness and tartness is simply irresistible.
Making lemon bars is super straightforward, especially when you have the right tools. An [8×8 inch baking dish](https://www.amazon.co.uk/dp/B00SHJN40E?tag=jjbarnes-21) is perfect for this recipe, ensuring even baking and easy removal of the bars once they’re set. Once baked, a dusting of powdered sugar on top gives them a lovely finished look, and an [icing sugar shaker](https://www.amazon.co.uk/dp/B06Y5PYWK9?tag=jjbarnes-21) makes it a breeze to achieve a light and even coating.
Your guests will love this zesty dessert that pairs perfectly with tea or coffee! For those looking to enhance their flavor experience, using an [zester and grater](https://www.amazon.co.uk/dp/B07L5D4L5Y?tag=jjbarnes-21) can really elevate the recipe. It allows you to get the freshest lemon zest, which adds that extra zing to the filling.
With these handy products, making lemon bars becomes an enjoyable and seamless experience!
Ingredients:
– For the crust:
– 1 cup all-purpose flour
– 1/4 cup powdered sugar
– 1/2 cup unsalted butter, softened
– 1/4 teaspoon salt
– For the lemon filling:
– 1 cup granulated sugar
– 2 large eggs
– 1/4 cup freshly squeezed lemon juice
– 1 tablespoon lemon zest
– 1/4 cup all-purpose flour
– Powdered sugar for dusting
Instructions:
1. Preheat your oven to 350°F (175°C) and grease an 8×8 inch baking dish.
2. In a mixing bowl, combine 1 cup of flour, 1/4 cup of powdered sugar, softened butter, and salt. Mix until crumbly.
3. Press this mixture evenly into the bottom of the prepared baking dish. Bake for 15 minutes or until lightly golden.
4. While the crust is baking, prepare the lemon filling. In another bowl, whisk together 1 cup of granulated sugar, 2 eggs, lemon juice, lemon zest, and 1/4 cup of flour until smooth.
5. Remove the crust from the oven and pour the lemon filling over the hot crust.
6. Bake for an additional 20-25 minutes, or until the filling is set and a light golden color.
7. Allow to cool completely in the dish before cutting into squares.
8. Dust with powdered sugar before serving.
Enjoy these easy desserts that are quick to make and sure to be crowd-pleasers!
Product Recommendations:
• 8×8 inch baking dish
• icing sugar shaker
• zester and grater
6. Coconut Macaroons

### 6. Coconut Macaroons
Coconut macaroons are chewy, sweet little bites that are perfect for dessert lovers. These cookies are made from shredded coconut, sweetened condensed milk, and egg whites, and they are delightfully simple to prepare.
Baked until golden, these macaroons have a lovely crispy exterior while staying moist on the inside. For a touch of sophistication, dip the bottoms in chocolate or drizzle chocolate on top. They’re sure to impress your guests with their flavor and texture!
Recipe Overview:
– Servings: 24 macaroons
– Prep Time: 15 minutes
– Cook Time: 25 minutes
– Total Time: 40 minutes
– Calories: Approximately 120 per macaroon
Nutrition Information:
Calories: 120
Protein: 1g
Carbs: 15g
Fat: 6g
Ingredients List:
– 3 cups shredded coconut
– 1 cup sweetened condensed milk
– 2 large egg whites
– 1 tsp vanilla extract
– Optional: 1 cup chocolate for dipping
Step-by-Step Instructions:
1. Preheat your oven to 325°F (160°C) and line a baking sheet with parchment paper or a silicone baking mat.
2. In a large bowl, combine shredded coconut, sweetened condensed milk, egg whites, and vanilla extract.
3. Mix until well combined.
4. Scoop tablespoon-sized portions onto the baking sheet, spacing them apart using a cookie scoop for uniform size.
5. Bake for 25 minutes, or until golden brown.
6. Allow to cool completely before dipping in melted chocolate if desired.
7. Use a chocolate melting pot for the perfect melt if you choose to dip or drizzle the chocolate.
– Use unsweetened coconut for a less sweet macaroon.
– Store in an airtight container for up to a week.
Frequently Asked Questions:
– Can I freeze these? Yes, they freeze well for up to 3 months.
Product Recommendations:
• Silicone baking mat
• Cookie scoop
• Chocolate melting pot
7. Raspberry Sorbet

7. Raspberry Sorbet
Raspberry Sorbet is a refreshing and light dessert that will cleanse the palate beautifully after a meal. It’s vegan, gluten-free, and incredibly easy to make!
With just three ingredients – fresh raspberries, sugar, and lemon juice – you can create a vibrant dessert that tastes just like summer. Blend the ingredients together using a high-speed blender, freeze the mixture, and voilà! You have a smooth and fruity sorbet that your guests will adore.
Recipe Details
Ingredients List:
– 4 cups fresh raspberries
– 1/2 cup sugar
– 1 tbsp lemon juice
Step-by-Step Instructions:
1. In a blender, combine the fresh raspberries, sugar, and lemon juice.
2. Blend the mixture until smooth. Taste it and adjust the sweetness if necessary.
3. Pour the blended mixture into a shallow freezer-safe dish, spreading it evenly.
4. Freeze the dish for at least 2 hours or until the sorbet is firm.
5. Once frozen, use a silicone ice cream scoop to scoop the sorbet into bowls and serve immediately.
For a smoother texture, blend longer. Garnish with fresh raspberries and mint leaves before serving.
Frequently Asked Questions:
– Can I use frozen raspberries? Yes, just thaw them slightly before blending.
Product Recommendations:
• High-speed blender
• silicone ice cream scoop
• freezer-safe dish
8. Chocolate Lava Cake

Chocolate Lava Cake is a dessert that never fails to impress! This individual cake has a gooey, molten center that flows out when you cut into it, making it a favorite for chocolate lovers everywhere.
While it might sound fancy, it’s surprisingly easy to whip up. With just a few basic ingredients, you can create a decadent dessert that feels upscale and indulgent. Serve it warm with a scoop of vanilla ice cream to take it over the top. To help you achieve the perfect presentation, consider using a ramekins set. These small dishes are ideal for baking individual portions and can go straight from the oven to the table, making serving a breeze.
Recipe Overview:
– Servings: 4 cakes
– Prep Time: 10 minutes
– Cook Time: 12 minutes
– Total Time: 22 minutes
– Calories: Approximately 350 per cake
Nutrition Information:
Calories: 350
Protein: 6g
Carbs: 45g
Fat: 18g
Ingredients List:
– 1/2 cup unsalted butter
– 1 cup semi-sweet chocolate chips
– 2 large eggs
– 2 large egg yolks
– 1/4 cup granulated sugar
– 2 tbsp all-purpose flour
Step-by-Step Instructions:
1. Preheat your oven to 425°F (220°C) and grease four ramekins.
2. In a microwave-safe bowl, melt butter and chocolate chips together until smooth. A chocolate melting pot can make this step even easier, ensuring your chocolate is perfectly melted for mixing.
3. In another bowl, whisk together eggs, egg yolks, and sugar until thick and pale.
4. Gently fold the chocolate mixture into the egg mixture.
5. Sift in the flour and fold until just combined.
6. Pour the batter into the prepared ramekins and bake for 12 minutes.
7. Let cool for 1 minute before inverting onto plates.
8. Serve immediately with ice cream if desired.
– Be careful not to overbake; the center should remain gooey.
– Experiment with different chocolate types for varied flavors.
Frequently Asked Questions:
– Can I prepare the batter ahead of time? Yes, you can refrigerate the batter for a few hours before baking.
With these products, you’ll be well-equipped to impress your guests with this delicious dessert.
Product Recommendations:
• Ramekins set for baking
• silicone spatula set
• chocolate melting pot
9. Peanut Butter Cookies

9. Peanut Butter Cookies
Peanut Butter Cookies are a classic that never goes out of style! These cookies are chewy, delicious, and can be made with just three ingredients. The combination of peanut butter, sugar, and eggs creates a rich flavor that’s hard to resist. You can add chocolate chips for extra indulgence or keep them simple for a more traditional treat. These cookies come together quickly, making them a perfect last-minute dessert for unexpected guests!
Ingredients List:
– 1 cup peanut butter
– 1 cup granulated sugar
– 1 large egg
– Optional: 1/2 cup chocolate chips
Step-by-Step Instructions:
1. Preheat your oven to 350°F (175°C) and line a baking sheet with a silicone baking mat.
2. In a bowl, mix peanut butter, sugar, and egg until smooth.
3. If using, fold in chocolate chips.
4. Drop tablespoon-sized balls onto the baking sheet, spacing them apart.
5. Use a fork to flatten and create a crisscross pattern.
6. Bake for 10 minutes or until lightly golden.
7. Allow to cool before transferring to a wire rack.
For an even deeper flavor, consider using crunchy peanut butter. Store your cookies in an airtight container for maximum freshness. Enjoy these easy desserts that are sure to impress your guests!
Product Recommendations:
• Silicone baking mat
• cookie scoop
• mixing bowl set
10. Apple Crisp

10. Apple Crisp
Apple Crisp is a warm, comforting dessert that’s perfect for any gathering. It features sweet, tender apples topped with a crunchy oat and brown sugar crumble. What’s great about this dessert is how easy it is to prepare.
Start by using an apple slicer to quickly and easily slice your apples into even pieces, ensuring they cook uniformly. Toss the sliced apples with a bit of sugar and cinnamon, then combine oats, flour, butter, and brown sugar for the topping. For the perfect baking vessel, consider a durable baking dish designed for even heat distribution. Bake until bubbly and golden, and serve it warm with a scoop of vanilla ice cream for an unforgettable treat!
Recipe Overview:
– Servings: 8 servings
– Prep Time: 15 minutes
– Cook Time: 30 minutes
– Total Time: 45 minutes
– Calories: Approximately 250 per serving
Nutrition Information:
Calories: 250
Protein: 2g
Carbs: 42g
Fat: 10g
Ingredients List:
– 4 cups sliced apples (about 4 apples)
– 1/2 cup granulated sugar
– 1 tsp cinnamon
– 1 cup rolled oats
– 1/2 cup flour
– 1/2 cup brown sugar
– 1/2 cup butter, melted
Step-by-Step Instructions:
1. Preheat your oven to 350°F (175°C) and grease a baking dish.
2. In a bowl, toss sliced apples with granulated sugar and cinnamon.
3. Spread the apple mixture evenly in the prepared dish.
4. In another bowl, combine oats, flour, brown sugar, and melted butter. Mix until crumbly.
5. Sprinkle the oat mixture over the apples.
6. Bake for 30 minutes or until the topping is golden brown.
7. Serve warm with a scoop of vanilla ice cream.
Feel free to mix in other fruits like pears or berries for added flavor. Leftovers are great reheated in the microwave!
Frequently Asked Questions:
– Can I make this ahead of time? Yes, you can assemble it a day in advance and bake just before serving.
With the help of measuring cups and spoons, you’ll ensure that all your ingredients are perfectly measured, making the process even smoother. Enjoy your delicious Apple Crisp!
Product Recommendations:
• Apple slicer
• baking dish
• measuring cups and spoons
Conclusion

These easy desserts are your ticket to impressing guests without the kitchen chaos!
From no-bake treats to indulgent cakes, you have plenty of delightful options to choose from. Whether you’re hosting a casual get-together or a more formal gathering, these crowd-pleasers will definitely elevate your dessert game. Happy baking!
Note: We aim to provide accurate product links, but some may occasionally expire or become unavailable. If this happens, please search directly on Amazon for the product or a suitable alternative.
This post contains Amazon affiliate links, meaning I may earn a small commission if you purchase through my links, at no extra cost to you.
Author
judieannrose@live.co.uk